 If you love yarn – or at least are inspired by its wider application beyond knitwear or crochet – then you probably wonder what you can do with what’s leftover after a craft project is done. I certainly know I do at times. I always have bits and pieces of yarn from previous projects stashed away in the hopes of finding other uses for them in the future.

This leftover yarn came from a couple of previous craft projects, including some yarn-wrapped pinecones I made recently (see the tutorial here) and a small wall weaving project I created this past summer (to see it, click here).
I decided to use some of the turquoise bits above – about 25 inches – to apply to a chain link bracelet I was planning on making. Although you don’t need to create a chain link bracelet from scratch for this project, I’ve laid out the steps below in case you’d like to make one for yourself.
For this project, you will need the following materials:

- chain link
- 2 jump rings (the two “o” shaped rings shown above; jump rings connect one piece to another)
- 1 lobster clasp (the clasp that actually looks like a lobster claw 🙂 )
- flat-nose pliers
- yarn
- needle
- scissors
Step 1: Measure the amount you need for your bracelet by fitting it around your wrist.

Make sure to account for the clasp which will be attached to your chain link bracelet. In my case, the entire clasp (the lobster claw and both jump rings) took up about 1 inch.

Step 2: To separate the piece of the chain you are using for your bracelet, you will need to open one of the loops using pliers. Because my chain link was thick, I used 2 pliers (the one to hold one side of the loop and the other to pull the loop open).

Try to get a firm grip on the link so as to avoid scraping the loop while opening it up.
Tip: When opening jewelry loops of any kind, be sure to open them sideways (as I’ve done in the picture above). Avoid pulling one end from another and thereby creating a U- or V-shape. If you create a U- or V-shape, it will weaken the ring and make it more difficult to restore the shape.
Step 3: Add one of the jump rings to one end of the bracelet. Then close that link using your pliers.

Step 4: Open the second jump ring and feed through the small hole at the bottom of the lobster clasp. Then close up the jump ring using your pliers.

Step 5: Add this second jump ring with the lobster clasp to the other end of the bracelet. Then close the link.

Your chain link bracelet should look something like this.

If you already own a chain link bracelet, then you can skip the instructions above and continue following the tutorial below.
For this next part, you can either pin or tape down one end of the bracelet to keep it secure OR, you can always do what I did, which was to wear the bracelet. I found this next part much easier to do while the bracelet was already on my wrist.
Step 6: Thread the yarn through the needle…
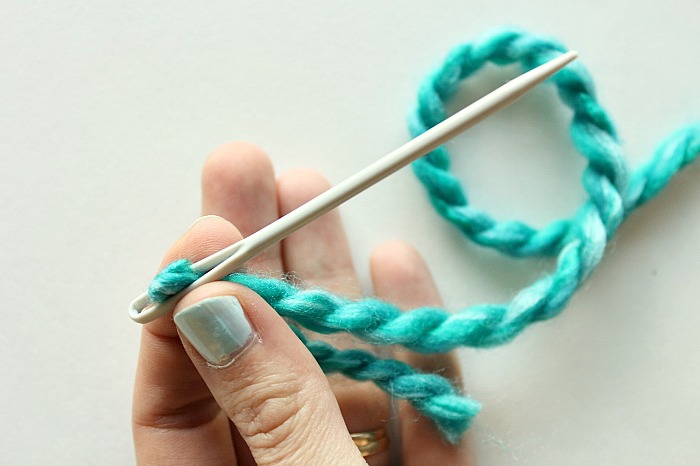
…and begin wrapping the yarn around the bracelet by leading the needle through the chain loops.
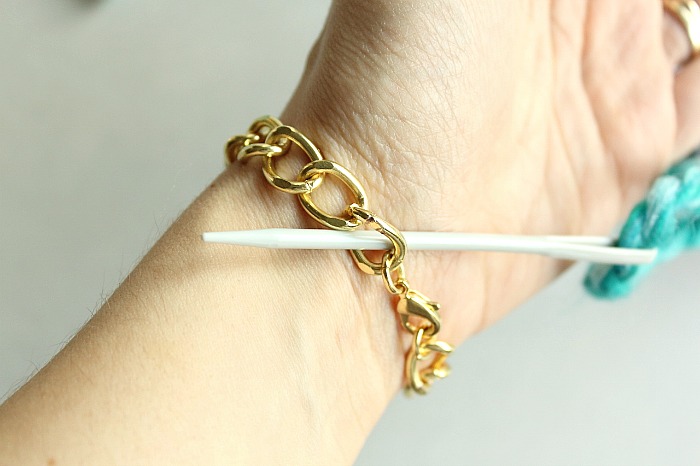
To secure the yarn, tie a loop at one end. (Make sure to wrap the yarn around the loose end to secure it in place).
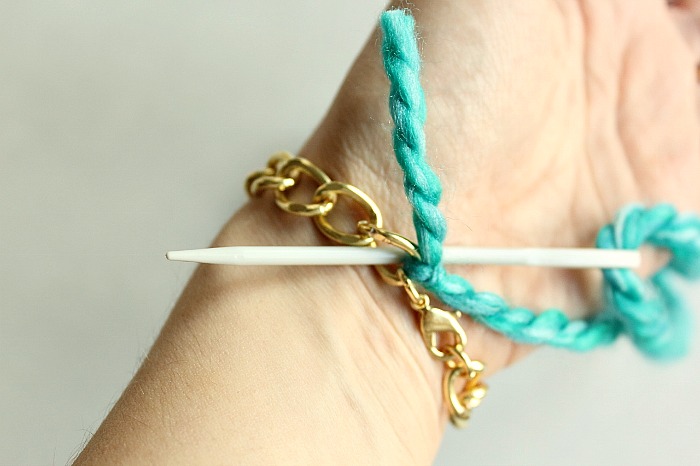
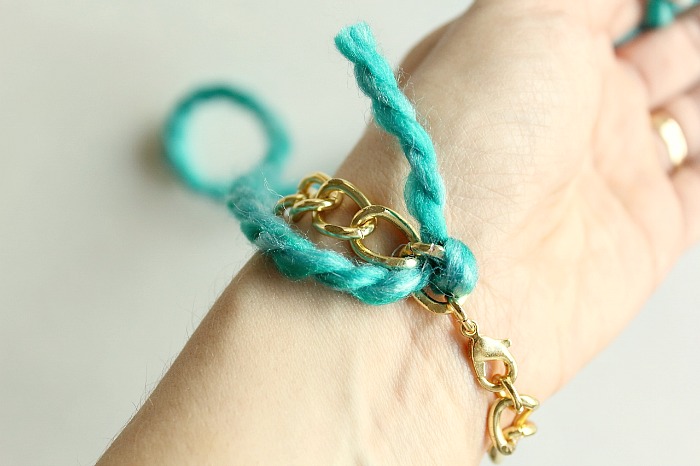
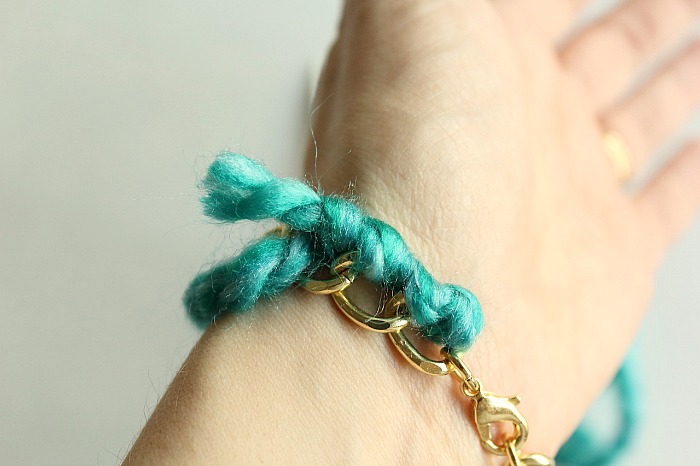
Wrap only along one side of the chain, keeping the other side exposed.
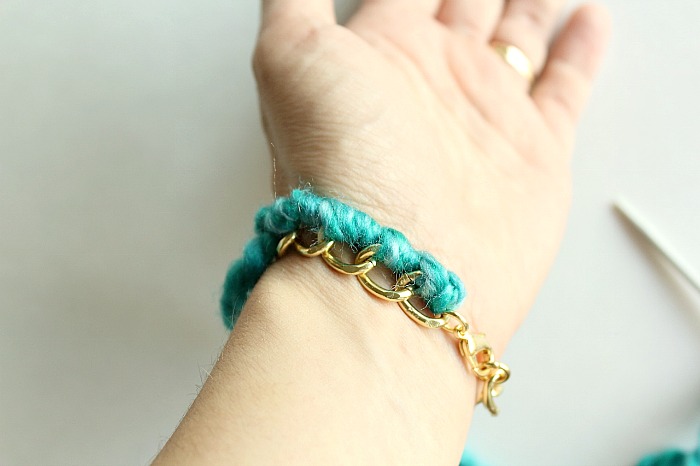
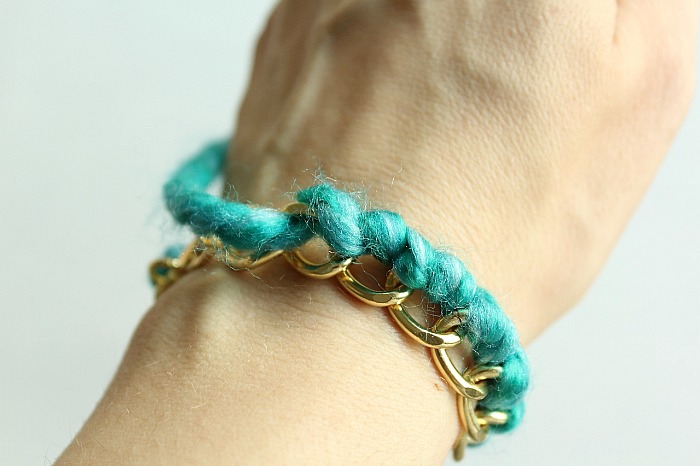
Step 7: As you approach the end of your bracelet, leave 3 or 4 loose loops. You can then thread the last bit through these loops to secure the yarn.
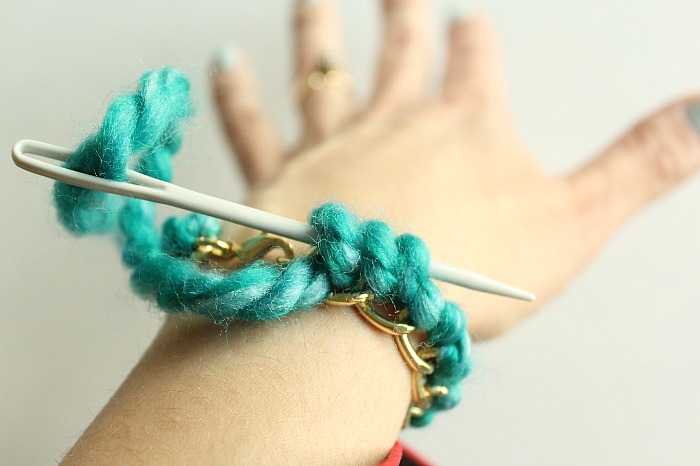
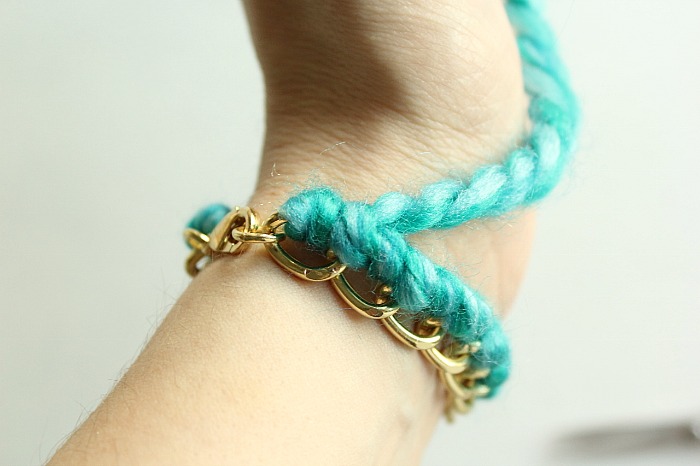
Now you can cut off the end of your yarn. Depending on the type of yarn you are using, you may wish to knot the end and snip off the excess (instead of simply feeding the end through the last few loops). You can even add a bit of clear nail polish to glue the tip for added security.
Either way, you now have a unique and lovely bracelet to wear.

Wear it on its own…

…or stacked with a watch or another bracelet.

As one who adores contrast, I love the variance between the hard and shiny links and the soft and colourful yarn – two elements you don’t often see together, making for one uniquely chic piece of jewelry.

You can make this yarn-wrapped bracelet using a wide variety of yarn thickness or even embroidery floss. You can also change things up by using two or three different colours in order to create a pretty colour-blocking pattern along the bracelet. There are so many possibilities with a project like this!


Go ahead and pin any of the images now so you can link back later. Hope you give this one a try 🙂
__________________________________
For more creative DIY’s, crafts and home decor ideas from around the web, check out: Sweet Inspiration, No Rules Weekend Blog Party, Pretty Pintastic Party, Flaunt It Friday, BFF Open House, The DIY Collective, The Creative Exchange, Share It One More Time, Saturday Sharefest and Funtastic Friday link parties.


Leave a Reply