 If you’re like me, you like displaying pretty candles throughout the home. I like a variety of different kinds from short and wide to tall and narrow and everything in between. And although, when lit, candles are a great way to set a mood or create warmth, sometimes I simply want to display candles that serve a purely decorative purpose. And preferably without paying top dollar. (Let’s face it, the prettiest and funkiest candles out there are often over-priced considering their use and relatively short life span.) So when I came across an inexpensive two-pack of candles at Walmart, I decided to add my own ‘pop of pretty’ to them in the simplest and easiest way I could think of: namely, by painting them.
Once I determined the design, I gathered up the following materials:

- candle(s)
- paint colour of choice (mine was a metallic gold acrylic paint)
- small artist’s brushes
- crafter’s knife
- painter’s tape (not pictured)
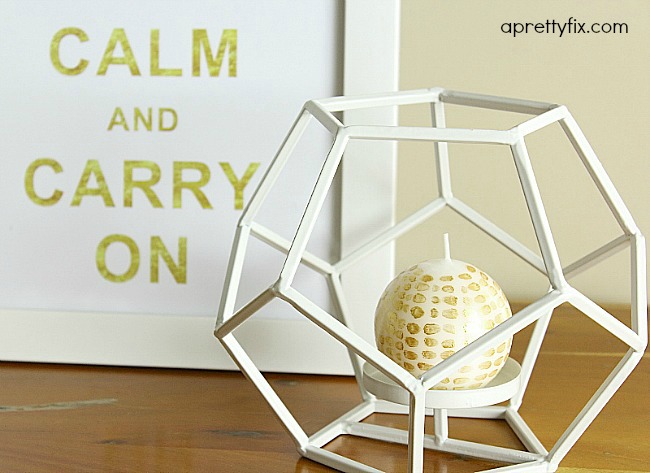
I decided on two different designs, one for each candle. The first was a free hand ‘dash’ design. To do this, simply begin applying the metallic paint directly onto the candle, as pictured below.


Because this candle is round, I marked the mid-point so that I could balance the look from front to back.

I then kept creating dashes all the way around until the candle was covered. Once completed, I simply scraped off the mid-point lines with my nail. The acrylic easily comes off the wax of the candle.
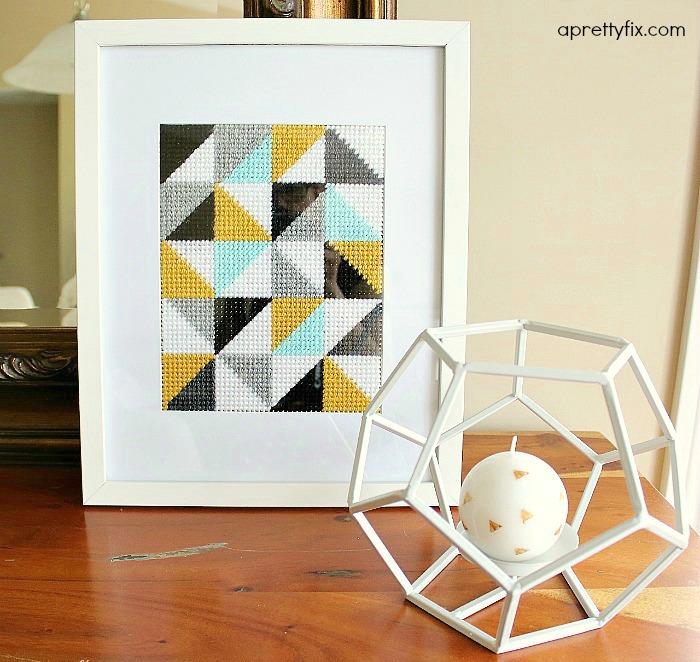
For the second design, I wanted to create uneven, golden triangles to cover the candle.
First, I cut out 3 small triangular shapes, free hand, on sections of painter’s tape using the crafter’s knife.

I then placed the tape at random spots on the candle, painted in the triangles, let them partially dry for approximately 2-3 minutes, then removed the tape. This created organic, slightly uneven triangular shapes around the candle.


If you prefer your triangles to have a clean edge, then wait for your paint to completely dry. For acrylic paint, it should take about 20 minutes.
Once you have completed the second candle, your candles should look something like this:

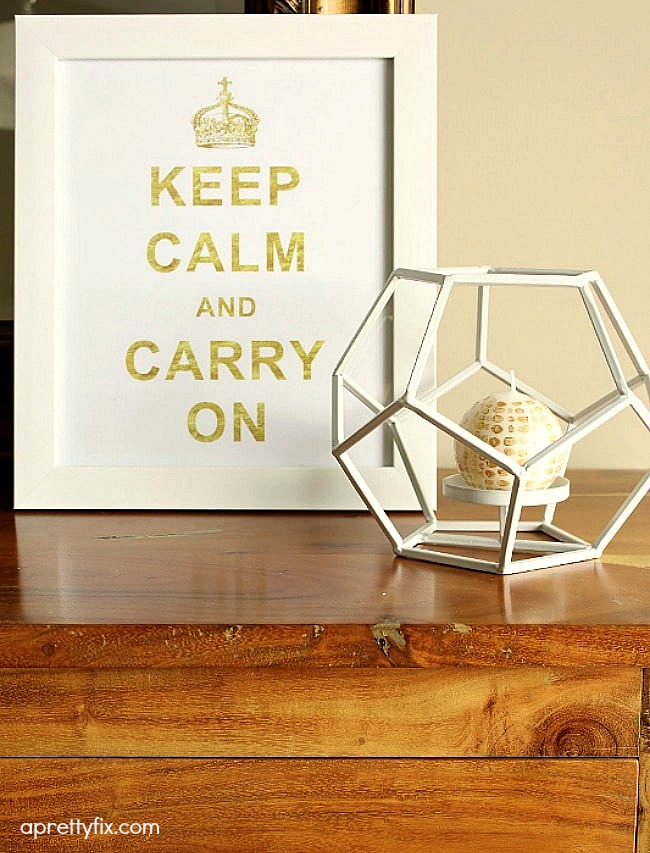
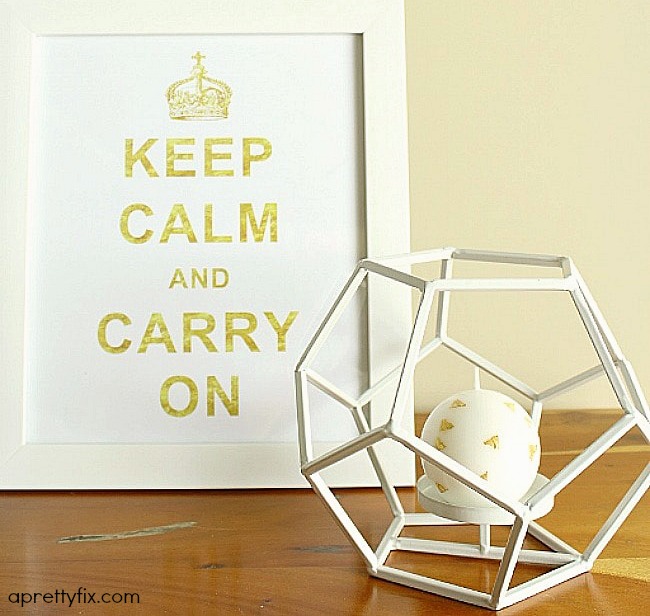
Here are the two designs on display in a couple of different vignettes at different times of day:
Honestly, these chic and crafty hand painted candles were one of the easiest and least expensive DIY’s I’ve done. It took very little effort, hardly any thought, and adds a chic and modern touch to the home. I am definitely going to start doing more of these candle painting projects. It’s these small details that add interest and personality to a space. So pretty and so simple to do 🙂


Leave a Reply